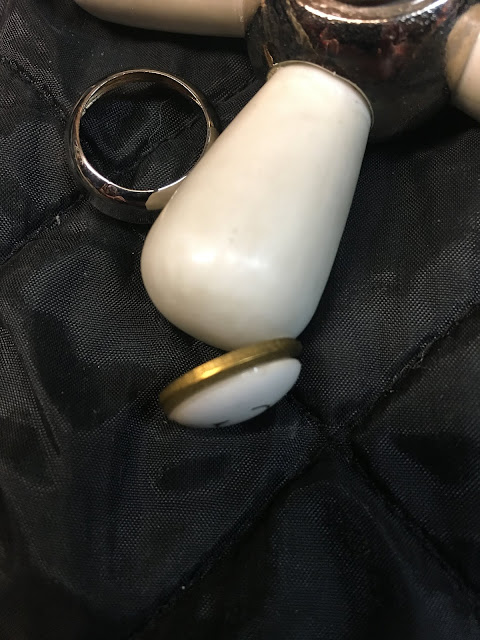
I have just completed my restoration project on a set of vintage J.L. Mott lavatory faucets. One of the challenges I had to overcome was the lack of original porcelain index buttons for the faucet handles.
Finding intact vintage porcelain index buttons is rather difficult. Finding the correct vintage porcelain index button when you need it is nearly impossible.
J.L. Mott employed a four part index button style. The brass handle hub had a raised threaded rim that would receive a matching threaded ring. The ring would hold the porcelain index button in place. The forth part would be a disk of thin cardboard. This disk would be placed under the index button to create some friction and be a spacer.
 |
| Here are the four parts. |
Completing my project necessitated the provision of an index button for each handle. The problem I had was that I didn't have any original Mott buttons. I had a set of four matching buttons that were the correct size but they were too tall to allow the threaded rings to even start, much less seat in. The American Standard buttons were the proper height but they are slightly too small. Small enough to drop through the Mott retainer rings.
With the project essentially done I found myself held up by the lack of two pairs if Mott index buttons. The Standard indexes were very close, close enough to look right if I could find a way to set them firmly into place. My solution to the problem was a little tricky to actually do but it worked.
Among the many vintage repair kits I have in the shop are some assortments of brass friction washers. These are mostly intended to sit under cap gaskets in faucet stem assemblies. I do find other uses for them occasionally. I drew from one of the assortments four brass washers that were too wide to drop though the Mott index button retainer rings, but narrow enough to not inhibit the threading of the retainer onto the raised male thread of the handle hub. These rings would be epoxied onto the down facing sides of the index buttons. The tricky part was getting them properly centered and holding the indexes in place during the process.
I found that the index buttons danced around on the work surface far too much to do the careful epoxy work that was required. I have 1/8" thick crafting tape that is sticky on both sides. I cut a portion of the tape and stuck it down to the work surface. I then pealed off the protective paper from the top side of the craft foam. The double stick foam held the index buttons snugly in place and I was able to work.
I was careful to keep the epoxy off of the downward facing finished sides of the buttons. With a thin coating of epoxy on the unfinished side I was ready to set the rings into place. They had to be centered, but I was able to do this by eye. After each brass washer was in place I added a little more epoxy to the indent created by the washer on the disc of the index.
The next day I was able to assemble my final result.


No comments:
Post a Comment
Your comments about this blog are welcome and appreciated.